FPV Drone QuickStartUpdated 5 months ago
Congratulations on your first iFlight BNF!
Here are the most important steps to get started:
Step 1: Do not mount the propellers yet!
Keep the spin-direction markers on the motors. You will need them later when installing the propellers correctly.
Step 2: Bind the receiver in your BNF to your radio controller
TBS Crossfire or ExpressLRS receiver:
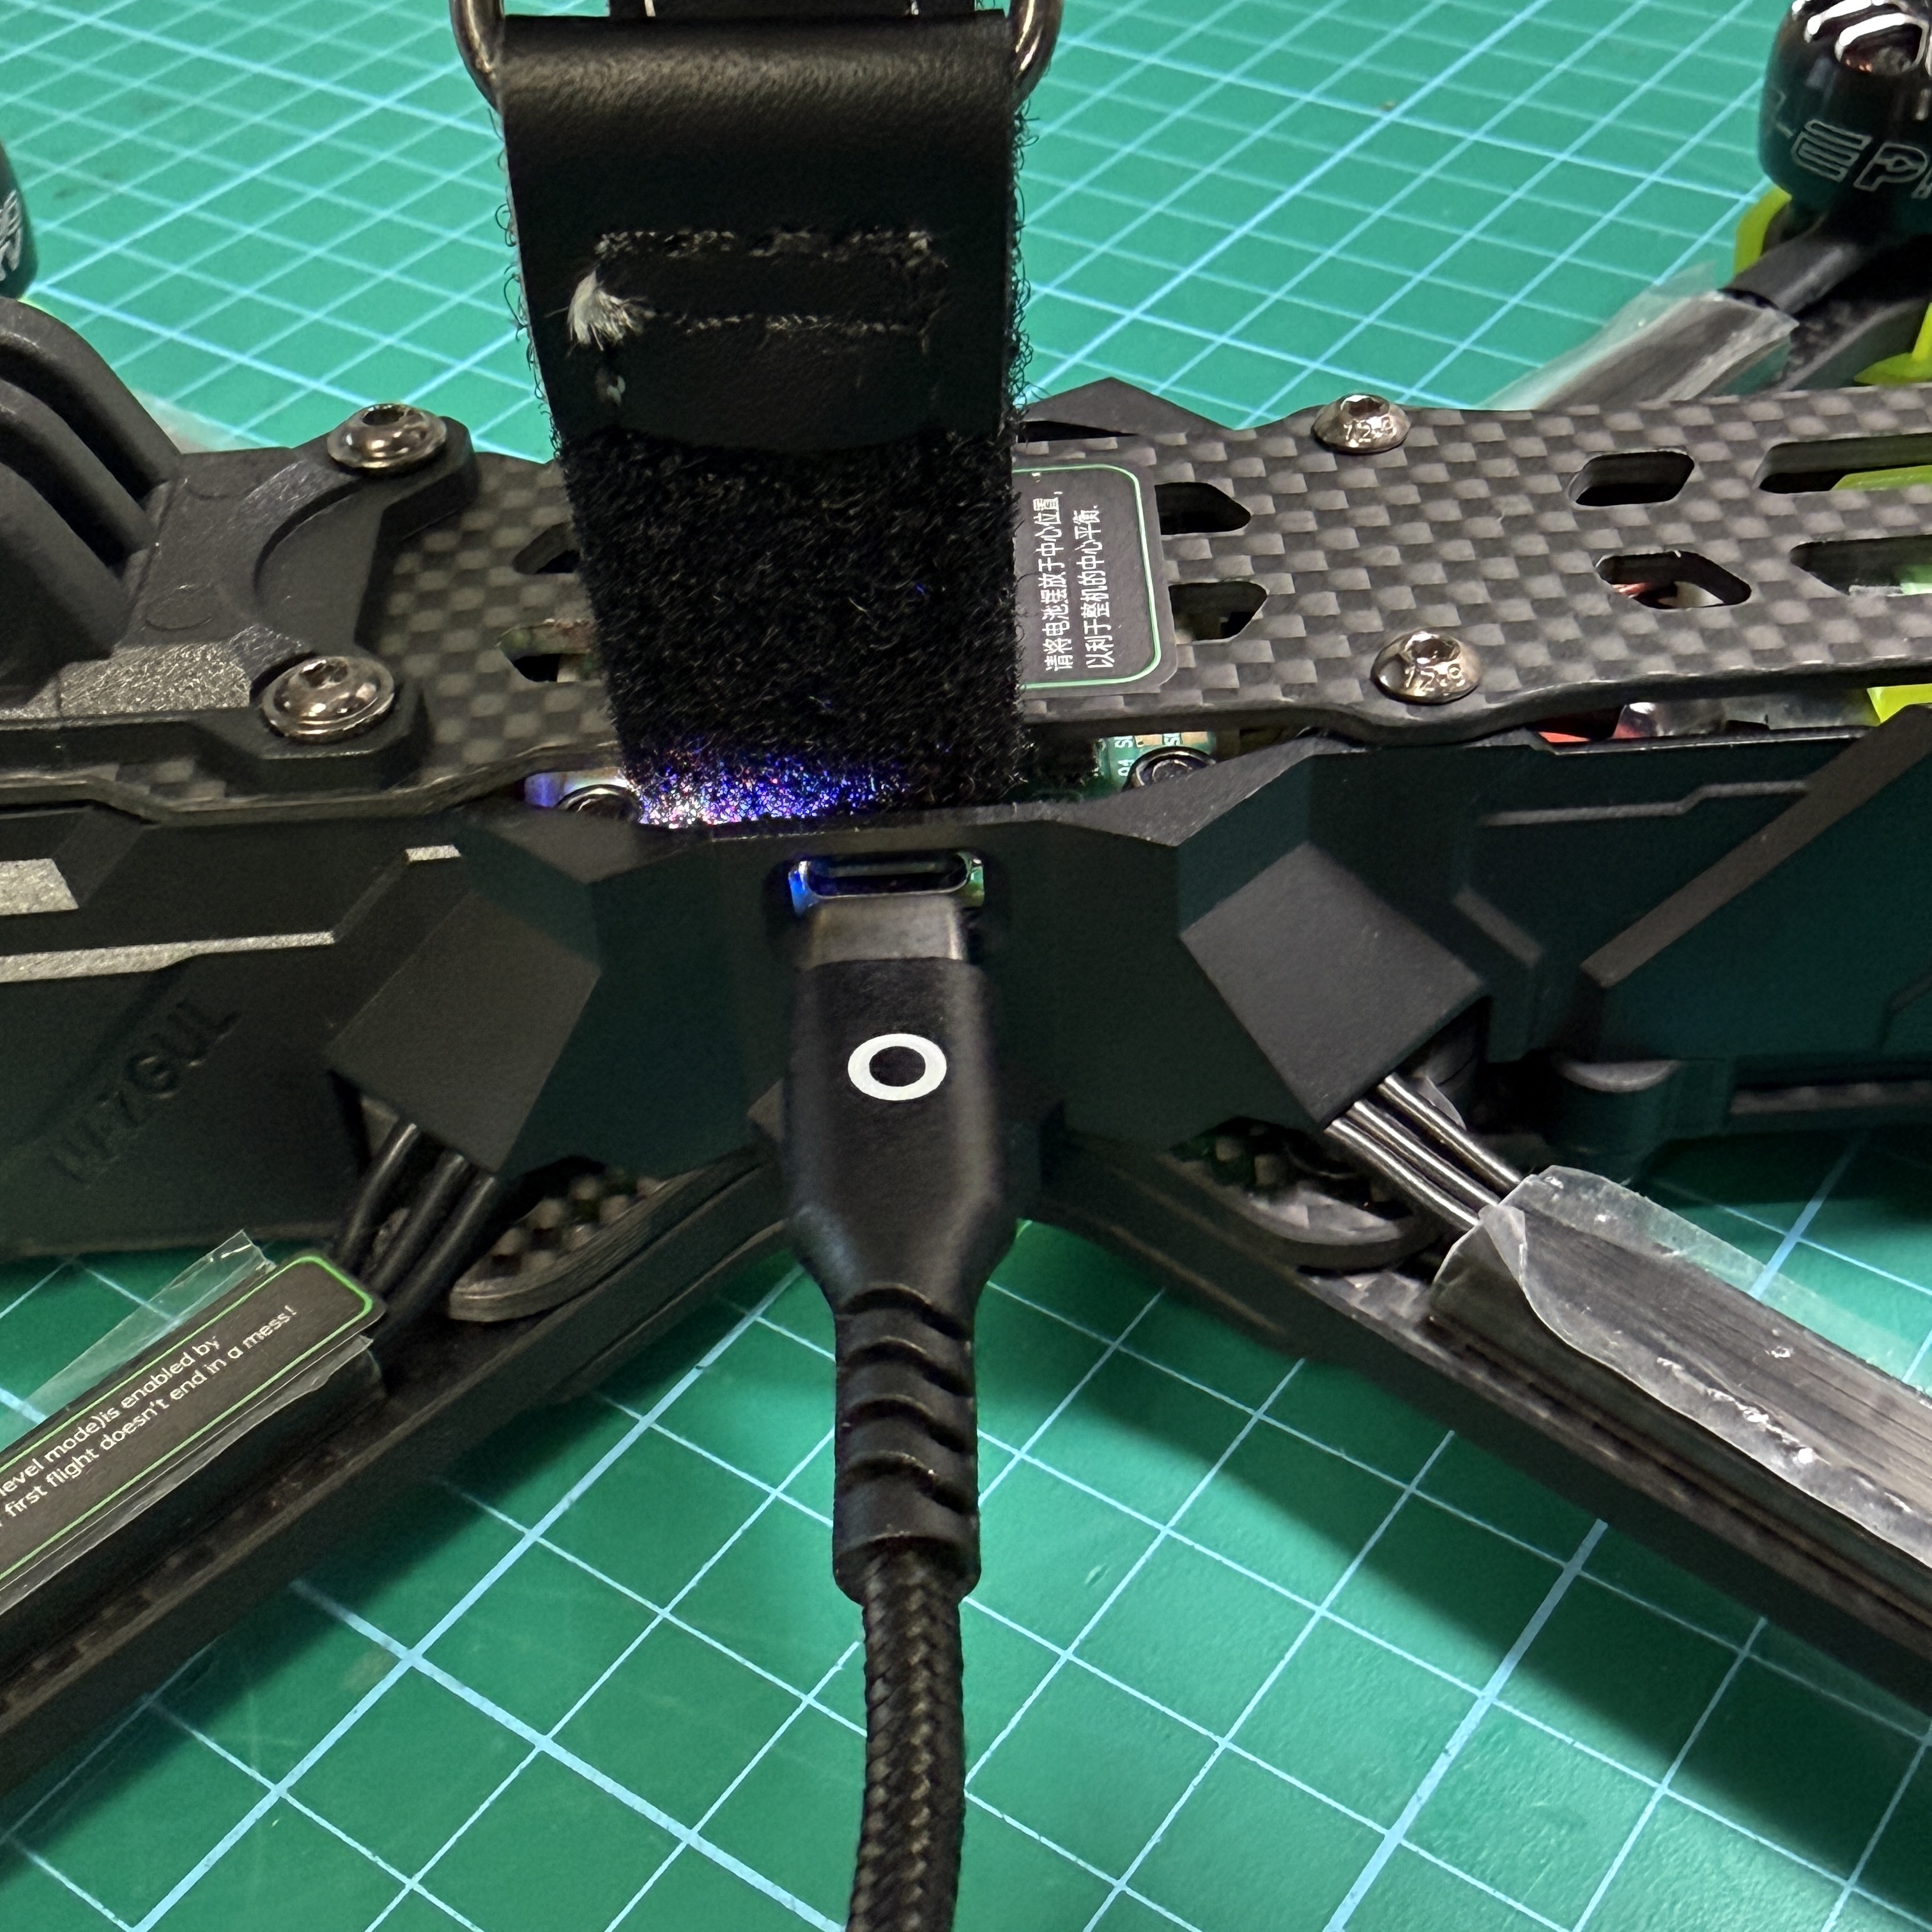
Connect your BNF drone to your PC through the USB-C port on the Flight Controller.
After plugging it in:
Immediately check whether your TBS Crossfire or ExpressLRS receiver lights up.
The receiver (TBS Crossfire or ExpressLRS) is about the size of a thumb and mounted either in the front or back, on the top or bottom of the frame.
Example:
DJI FPV Controller (RC2, RC3):
You ordered the DJI version. Your BNF does not have a separate receiver.
The DJI Air Unit has an integrated receiver module (SBUS) that communicates directly with your Goggles and DJI RC.
This RX can only be powered on through the flight battery.
Attention:
- Never plug in a battery if no antenna is installed on the quad – this can damage the video transmitter and cause overheating.
- When the battery is plugged in, keep it connected only as briefly as possible if no active cooling is applied.
Step 3: Use our binding guides
We have separate instructions for ExpressLRS, TBS Crossfire, and DJI radio controllers.
Simply go back to the Help Center for these guides.
Link ExpressLRS: https://help.iflight-rc.eu/de-DE/expresslrs-binding-guide-3450309
Link TBS Crossfire: https://help.iflight-rc.eu/de-DE/tbs-crossfire-anleitung-790523
Come back here after binding your receiver to continue with the next steps.
Step 4: Download and install the Betaflight Configurator
Step 5: Download ImpulseRC Driver Fixer (Windows)
Download link:
https://impulserc.blob.core.windows.net/utilities/ImpulseRC_Driver_Fixer.exe
Open the tool while the drone is connected via USB.
It will automatically detect the Flight Controller and install the required Windows drivers for Betaflight.
Step 6: Open the Betaflight Configurator
Here we will check a few basic points.
Every iFlight BNF comes from the factory with a complete setup – including configuration, tuning, and filter profiles for optimal flight performance.
Note:
You do not need to change or update anything. Updates are for advanced users only!
Step 7: Quick check in the Betaflight Configurator
Orientation
On the first screen, you will see the orientation of the quad. There is nothing to change here.
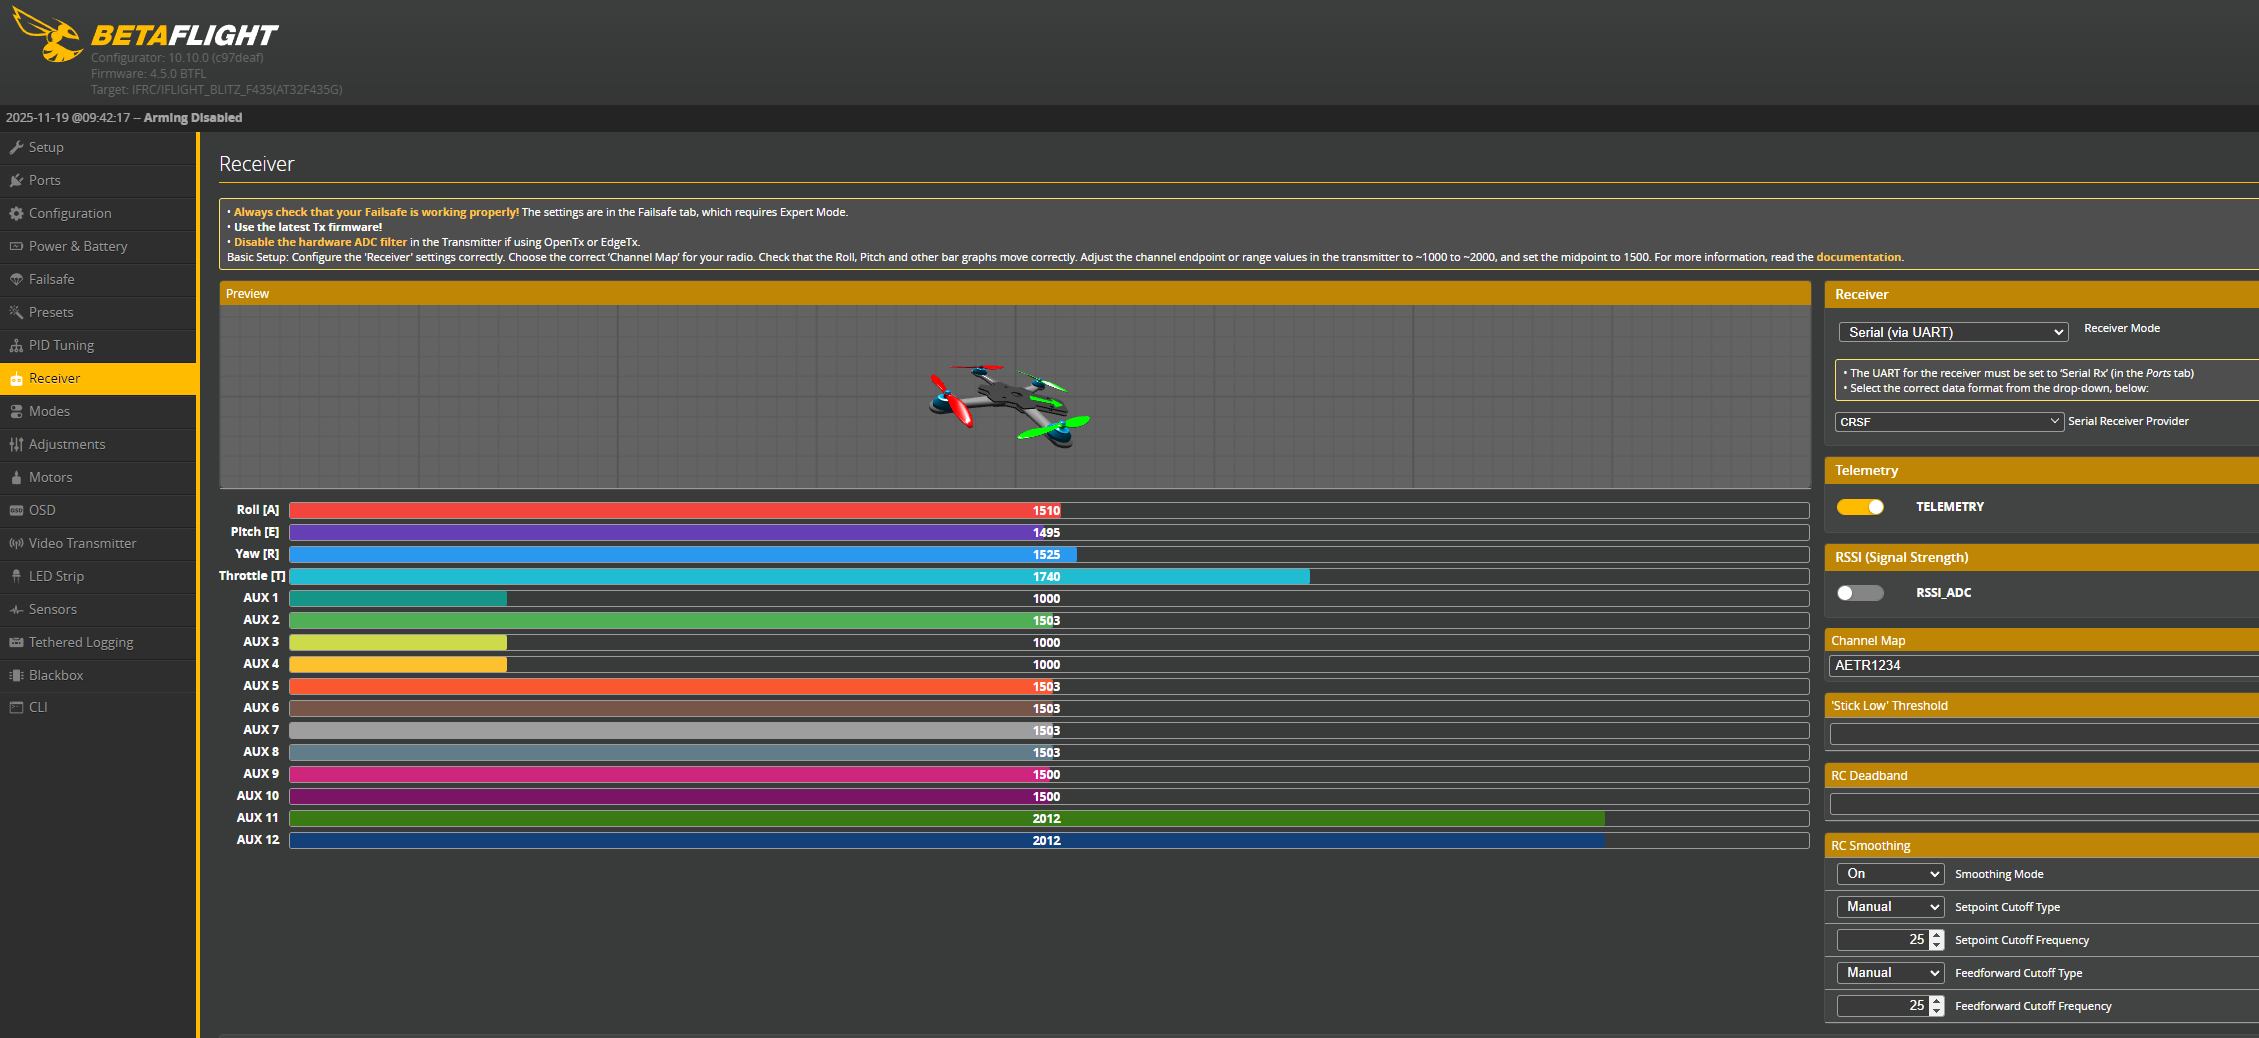
Receiver Tab
Confirm that your radio controller is correctly sending inputs.
Plug in the battery (DJI version only).
Move the sticks on your radio controller and check if the bars respond.
Modes Tab – Setting up arming
By default, AUX1 is used for arming with TBS Crossfire and ExpressLRS – and this is recommended.
For DJI controllers, you can use any button you prefer.
To assign a switch:
Select AUTO in the arming this field → press the desired button on your controller.
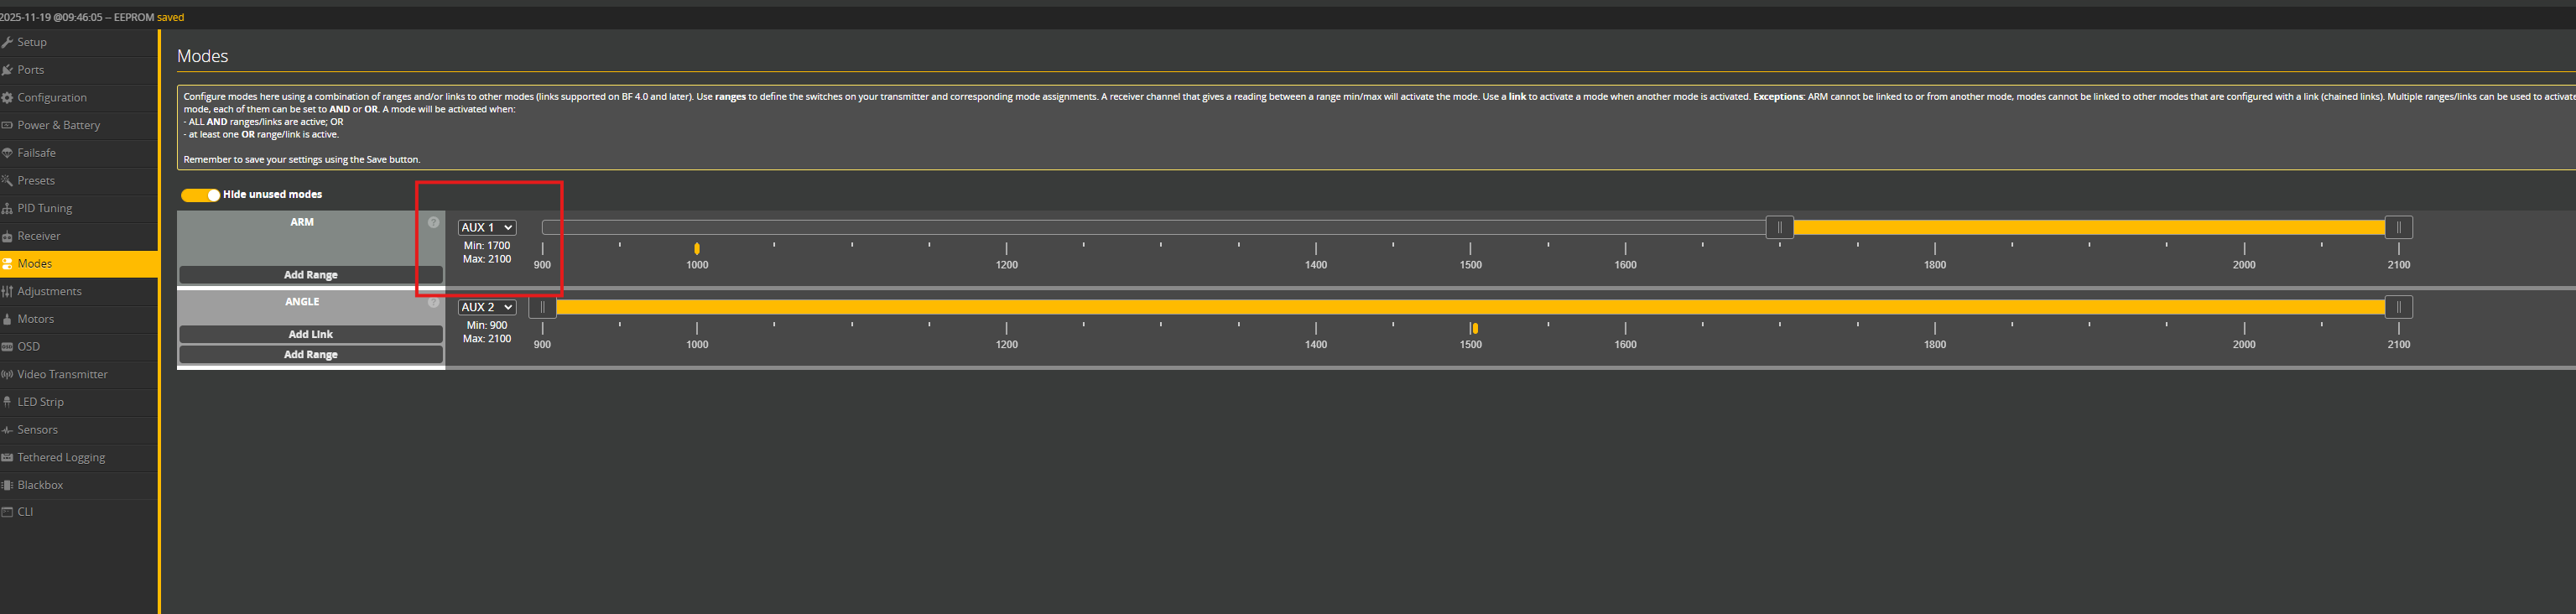
Angle Mode
Angle Mode is active by default across the entire AUX2 range.
If you do not want to use this leveling mode, reduce the range and assign AUX2 to a switch so you can enable or disable it at any time.