ExpressLRS Binding GuideUpdated 4 months ago
How do I get started with ExpressLRS? (Complete Guide)
There are two binding methods available:
1. Classic binding without a computer
3× Plug Method
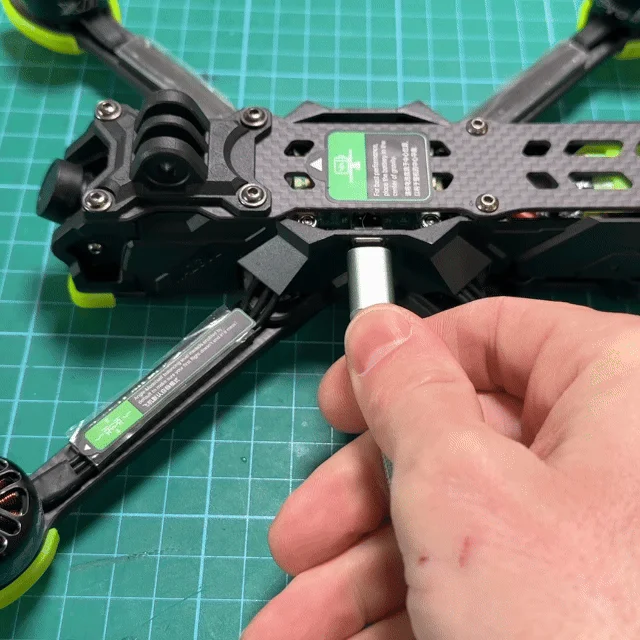
1. With the 3× plug method, you plug the receiver’s power in and out three times in a row.
4. The receiver will bind directly to your transmitter – without a binding phrase.
2. Binding Phrase with a computer (recommended)
Each drone can be assigned an individual binding phrase.
As soon as your transmitter and receiver use the same phrase, the receiver will connect automatically.
 Transmitter
1. Open the ExpressLRS Web Flasher
Open the official Web Flasher:
➡️ https://expresslrs.github.io/web-flasher/
The Web Flasher runs directly in the browser — no additional software required.
2. Select the transmitter and firmware
1. Click on the transmitter shown in the Web Flasher.
2. Select the latest firmware version.
3. Choose your transmitter manufacturer.
4. Select your frequency band:
ELRS 2.4 GHz
ELRS 868/915 MHz
5. Select the correct target for your transmitter.
Example: If you are using an iFlight Commando 8 V2, select this target.
6. Click NEXT.
3. Set binding phrase & region
1. Create your own binding phrase, e.g. “MyELRS2025”.
- This phrase will also be used by the receiver.
- The transmitter and receiver must share the exact same phrase to auto-bind.
2. Select your region:
FCC – maximum output power (USA)
LBT – legally required, max. 100 mW (Europe)
Choose the flashing method:
➡️ WiFi
Then click NEXT.
4. Download the firmware
The Web Flasher will now display your final firmware.
Click Download to save the file to your computer.
5. Power on the transmitter
Turn on your transmitter as usual.
6. Enable WiFi mode on the transmitter
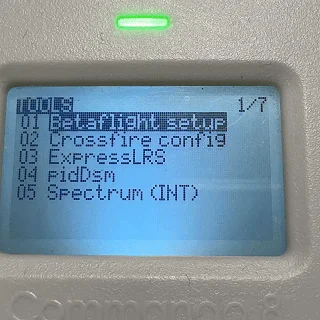
1. Open the ExpressLRS Tool (Lua script or system menu).
2. Select WiFi Connectivity.
3. Enable WiFi.
The transmitter will now reboot into WiFi mode and create its own WiFi network.
7. Connect to the ExpressLRS WiFi
1. On your computer, open the WiFi list.
2. Select: ➡️ “ExpressLRS TX”
8. Flash firmware via the Web Updater
After connecting, a browser window should open automatically.
(If not, enter http://10.0.0.1/ manually in your browser.)
1. Click Update.
2. Upload the previously downloaded firmware file.
3. Confirm with Flash.
After a few seconds, the update is complete.
9. Done!
Your transmitter is now updated to the latest ExpressLRS firmware and ready to connect with your receiver.
 Receiver
1. Open the ExpressLRS Web Flasher
Open the official Web Flasher:
➡️ https://expresslrs.github.io/web-flasher/
The Web Flasher runs directly in the browser – no extra software required.
2. Select your receiver
1. Click on the receiver shown.
2. Choose the latest firmware version.
3. Select your receiver model/target.
Important:
Make sure you select the correct target. For example, if you are using an iFlight ELRS 2.4GHz 500mW RX, you must select exactly this target. Choosing the wrong target can permanently damage your receiver.
4. Click NEXT.
3. Set binding phrase & region
To allow automatic binding between transmitter and receiver, both must use the same binding phrase.
1. Enter your binding phrase, e.g. “MyELRS2025”.
Use exactly the same phrase you configured on the transmitter.
2. Select your region:
FCC – maximum output power (USA)
LBT – legally required, maximum 100 mW (Europe)
Select the flashing method
You can choose between two flashing methods:
A) WiFi Flash — recommended
B) UART Flash (via USB adapter)
Select the appropriate method → NEXT.
4. Download the firmware
The Web Flasher will show your compiled firmware.
Click Download to save it to your computer.
5. Put the receiver into flash mode
A) WiFi Flash (recommended)
1.Connect the drone or receiver to a power source.
(e.g. USB-C port on the flight controller)
2. Wait 60 seconds → many receivers automatically enter WiFi mode.
3. Open the WiFi menu on your computer.
4. Select: ➡️ “ExpressLRS RX”
A browser window should open automatically.
(If not, enter http://10.0.0.1/ manually.)
B) UART Flash (via USB adapter / flight controller)
Connect the flight controller to your computer via USB.
The Web Flasher will detect the correct USB port automatically.
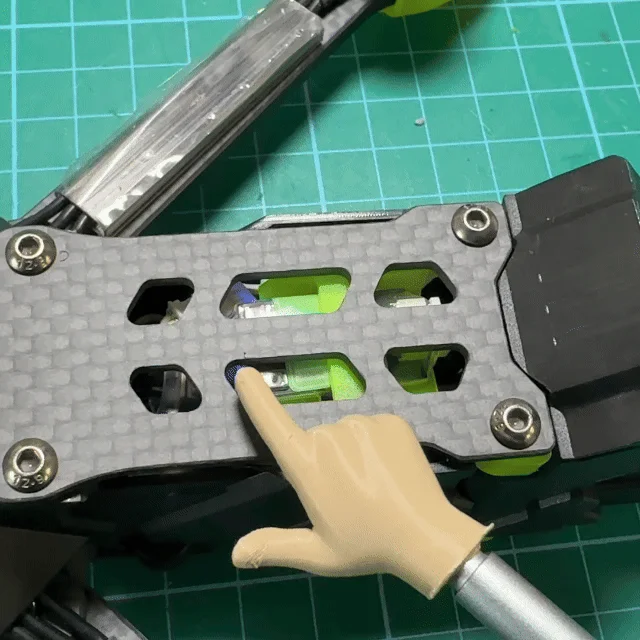
Put the receiver into bootloader mode (if required):
Hold the boot button while plugging in
orPlug in/out quickly 3× (auto-bootloader on some models)
6. Flash the firmware
WiFi Flash:
1. Click Update in the window that opens automatically.
2.Select the firmware file.
3. Click Flash.
UART Flash:
1. Choose the detected USB port in the Web Flasher.
2.Click Flash.
The process usually takes only a few seconds.
7. Restart the receiver
- Disconnect power.
- Reconnect power.
The receiver will now boot with the new firmware.
8. Connect to the transmitter
If the transmitter and receiver share the same binding phrase, they will bind automatically.
Important: The transmitter must always be powered on first.
The receiver indicates a successful bind with:
a solid LED
orslow blinking in a fixed color
If no binding phrase is used:
➡️ The receiver will automatically enter bind mode
or
➡️ You can put it into bind mode using the 3× plug method.
9. Done!
Your receiver is now:
successfully flashed
paired with your transmitter
ready for configuration in Betaflight