
Configure the flight controller for the right Receiver protocolUpdated 17 days ago
1. Connect the Flight Controller via USB
Connect your flight controller to your computer using a USB data cable.
Wait a few seconds until the flight controller is recognized by your operating system.
2. Open Betaflight Configurator
Open the Betaflight Configurator on your computer.
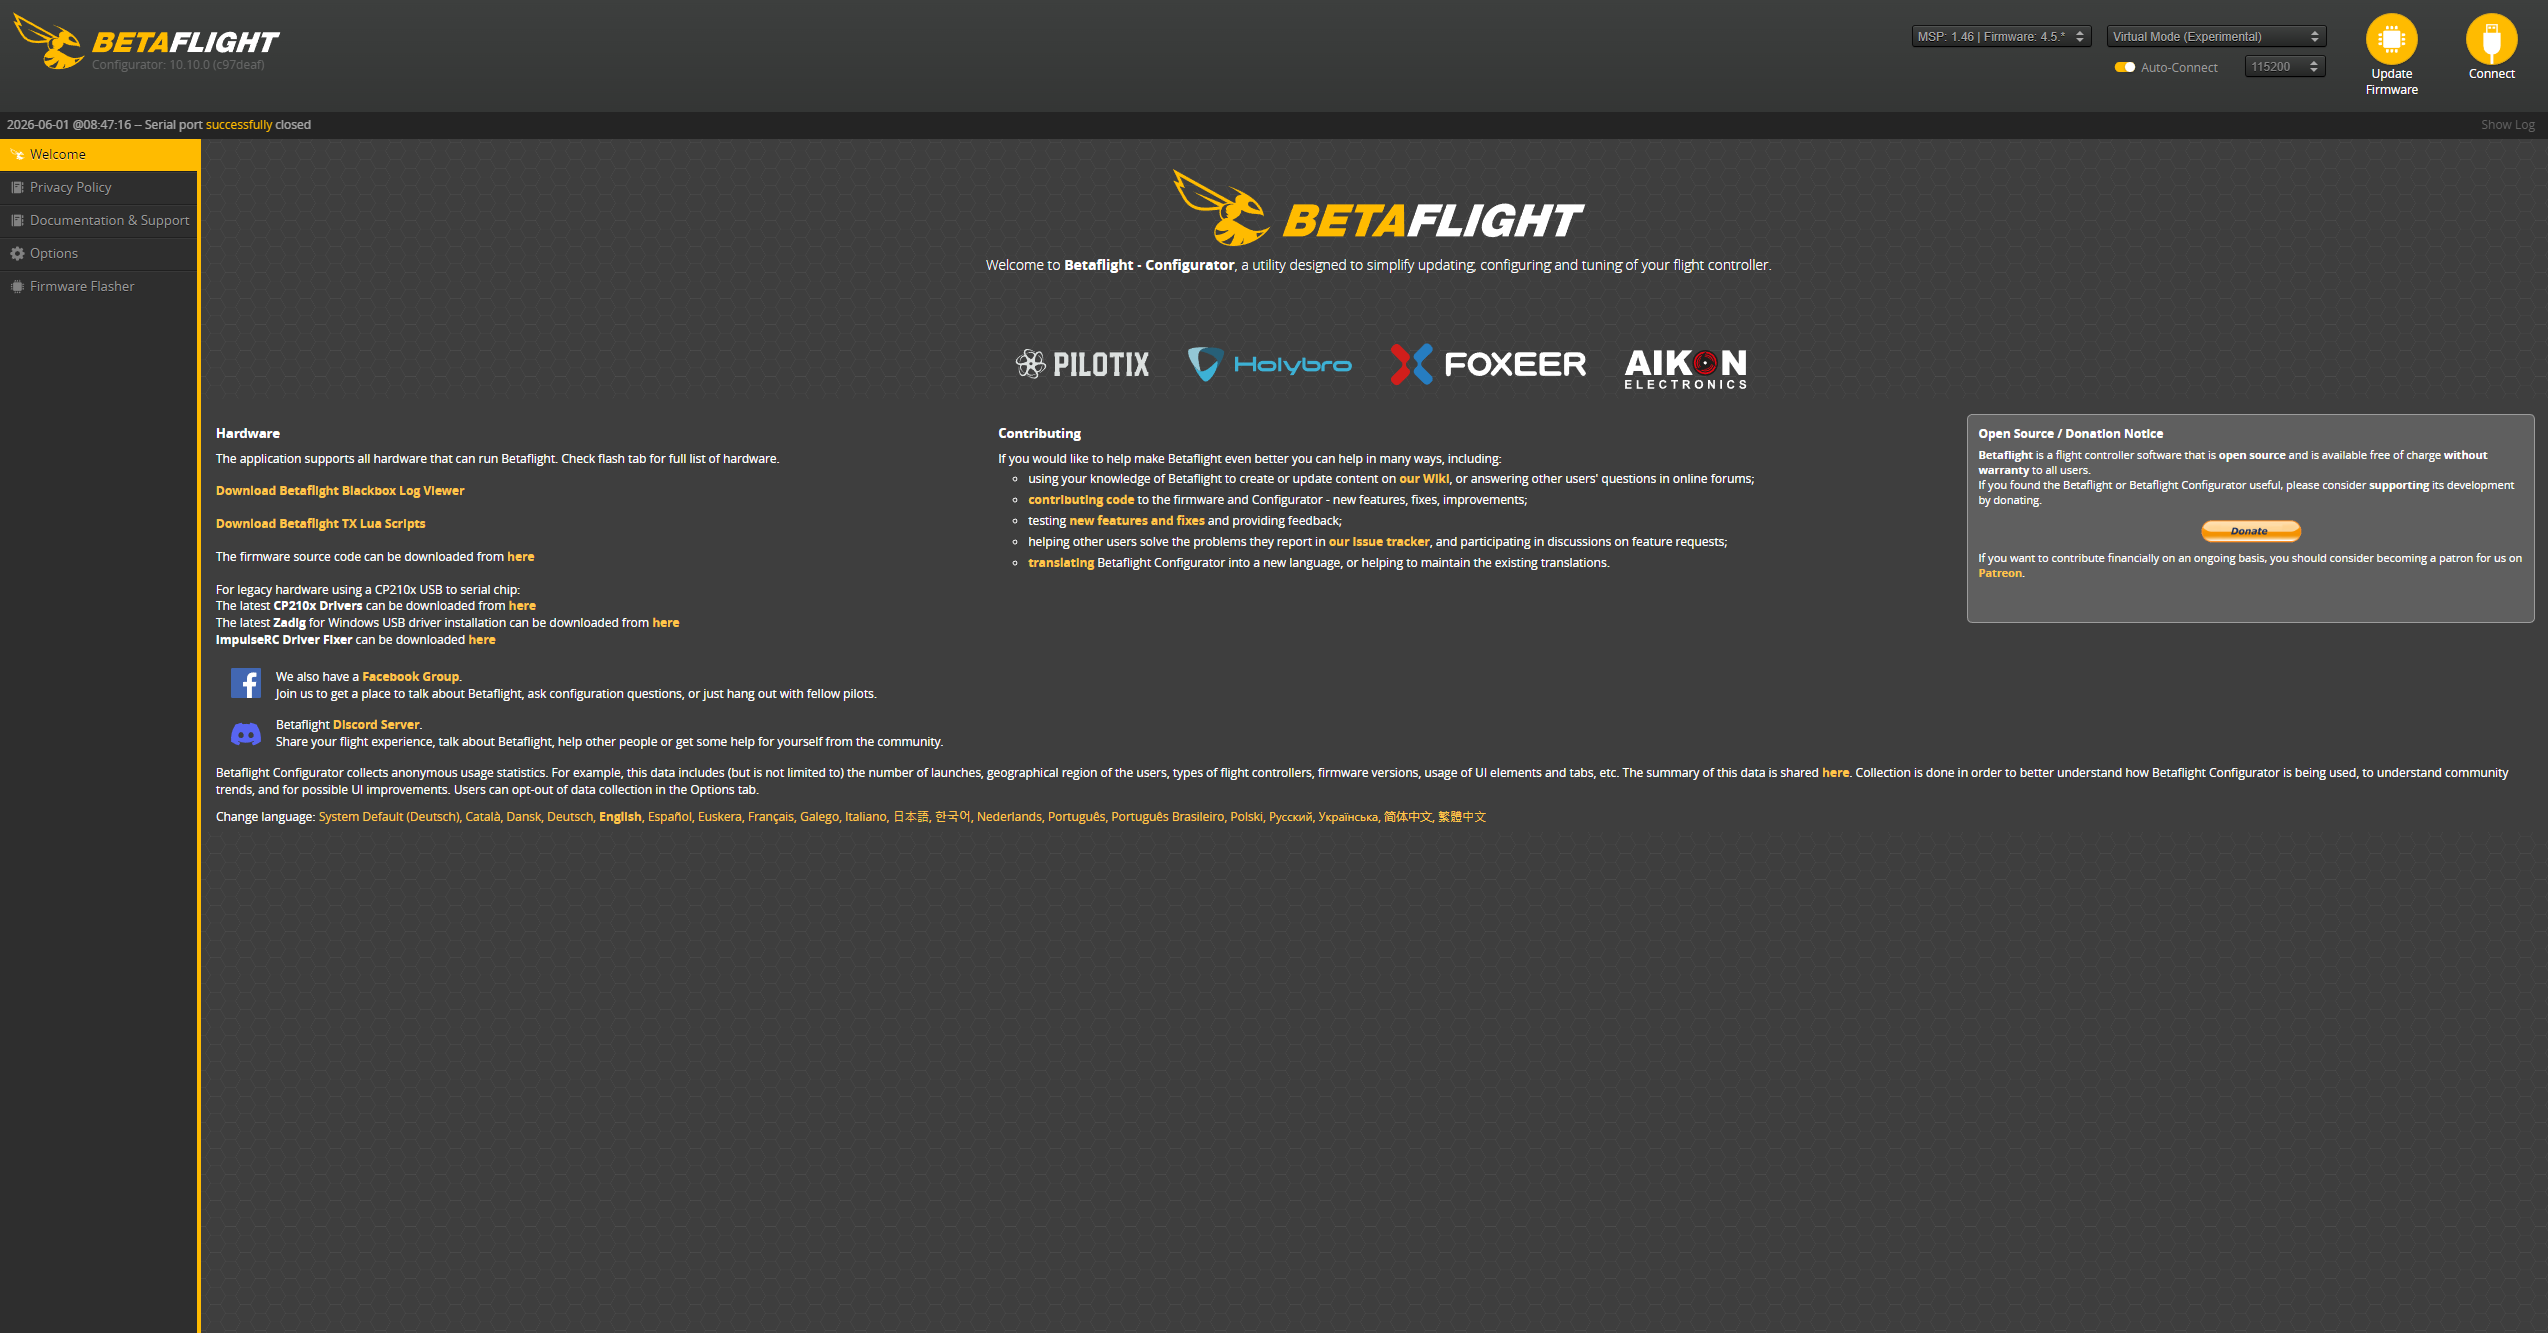
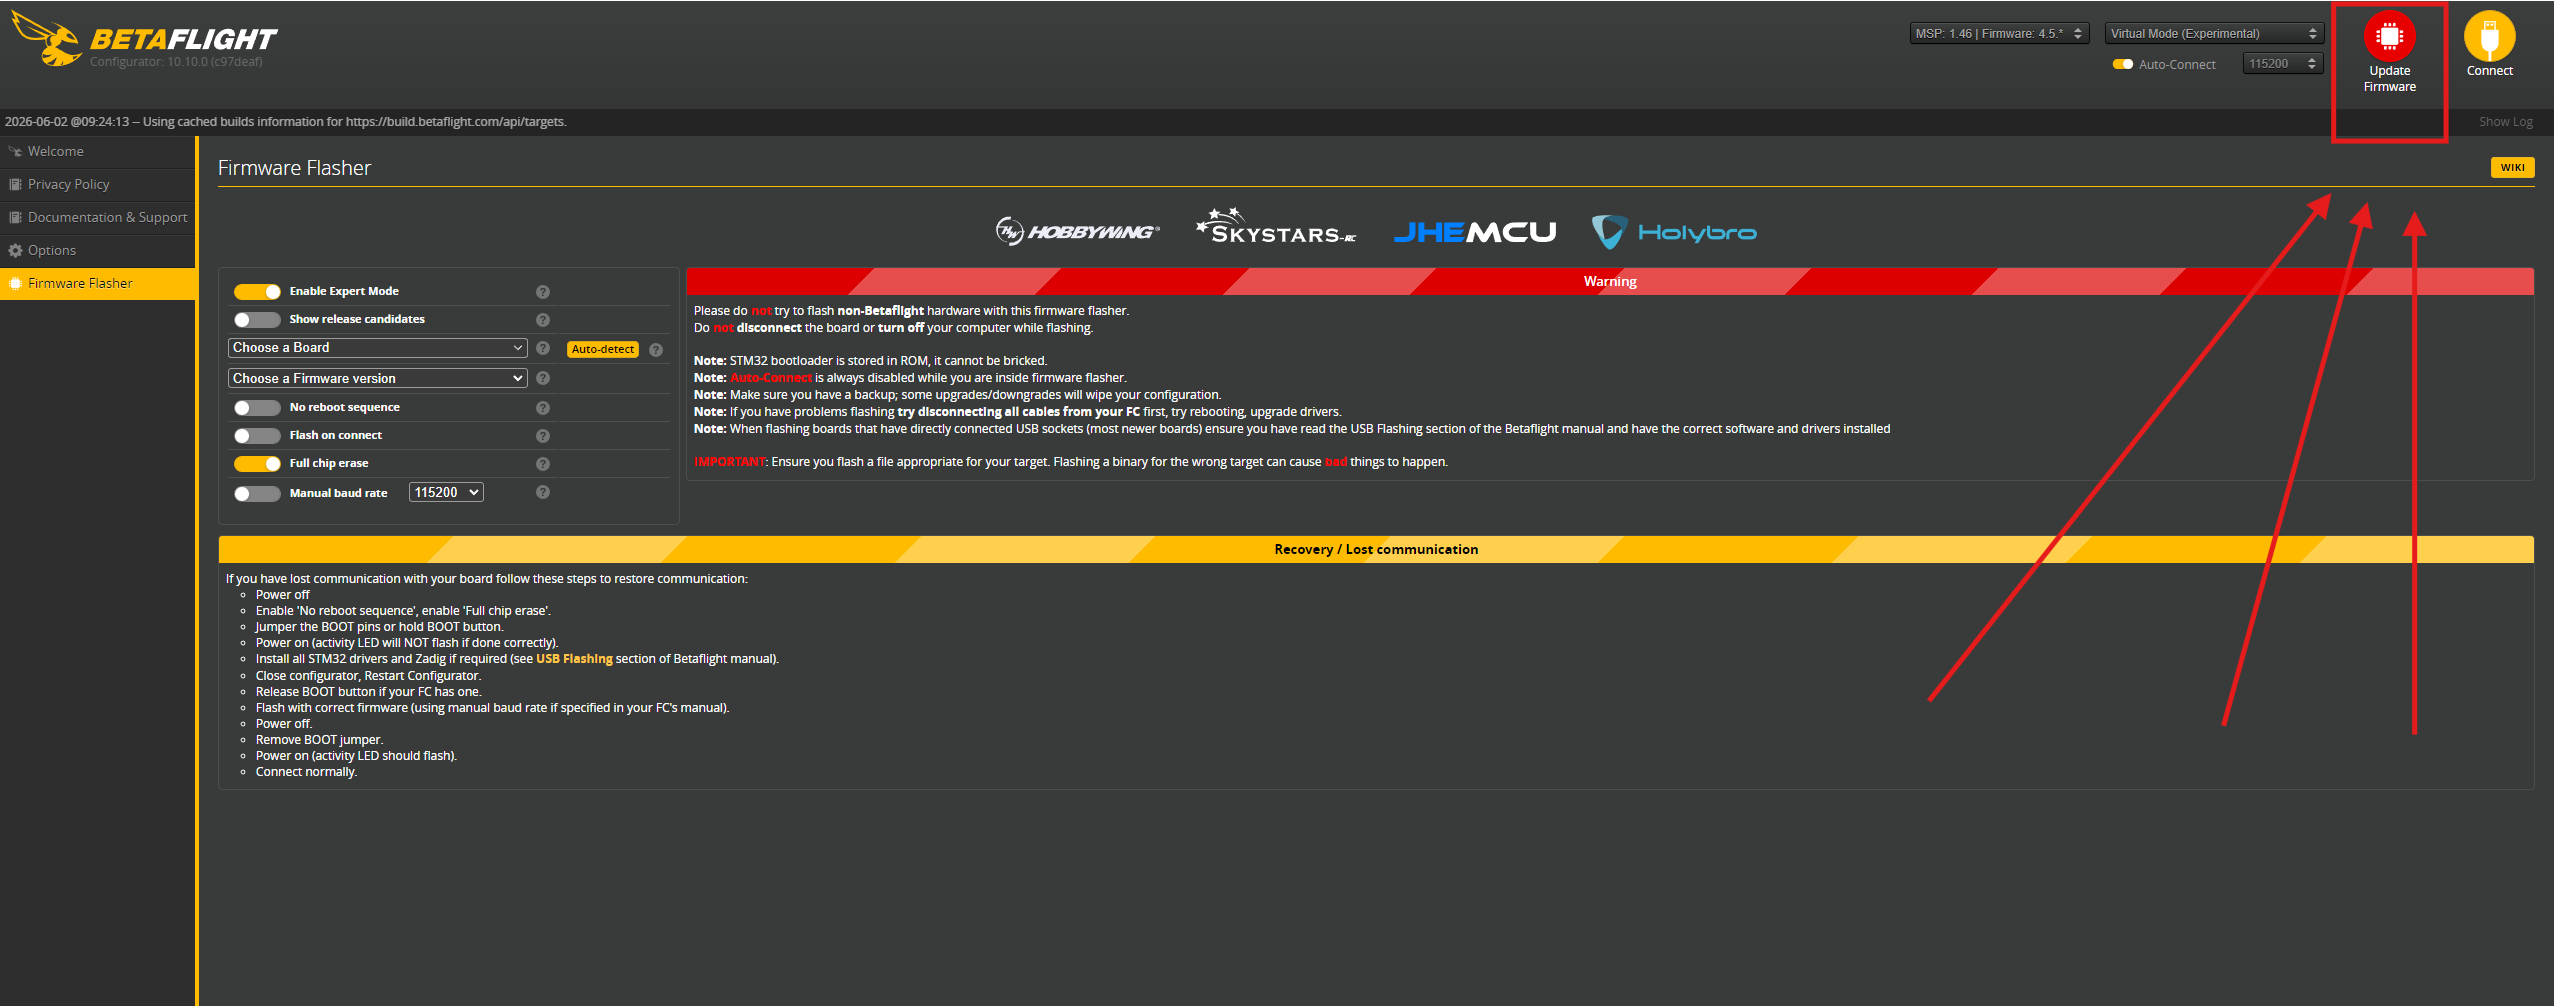
3. Open the Firmware Flasher
Click on:
➡️ Firmware Flasher
in the left-hand menu.
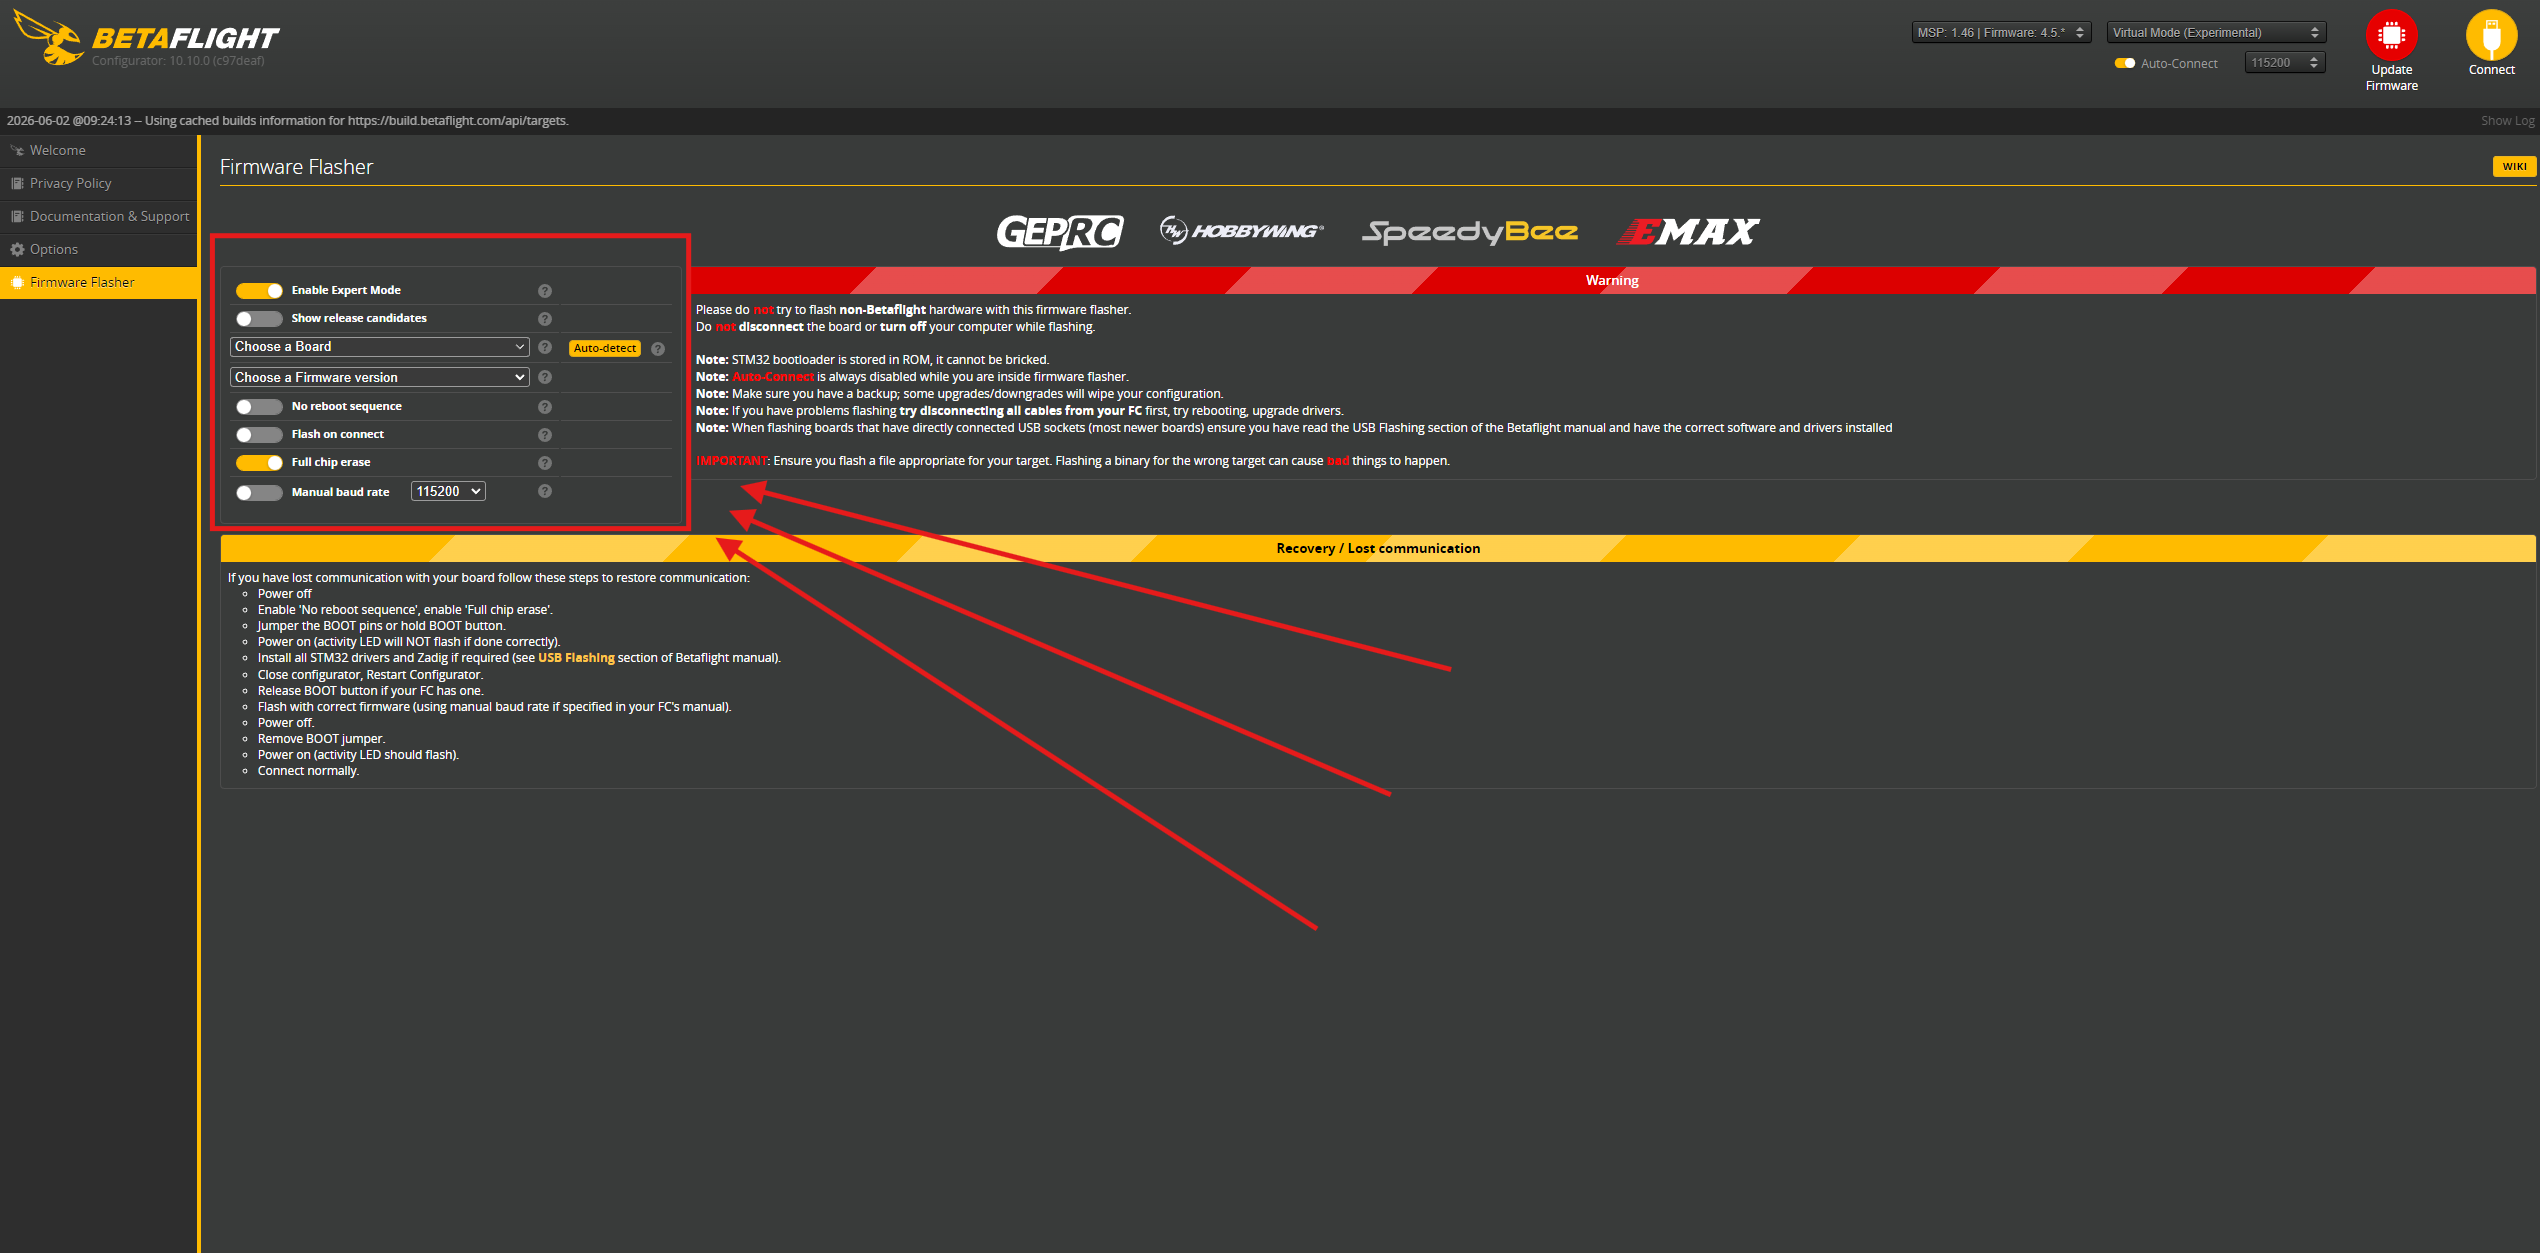
4. Select the Correct Target
Click on:
➡️ Auto Detect
Betaflight will attempt to automatically detect the currently installed target.
If the automatic detection does not work, you can find the correct target in the product description or technical specifications of your flight controller.
Important: Always use the correct target for your flight controller.
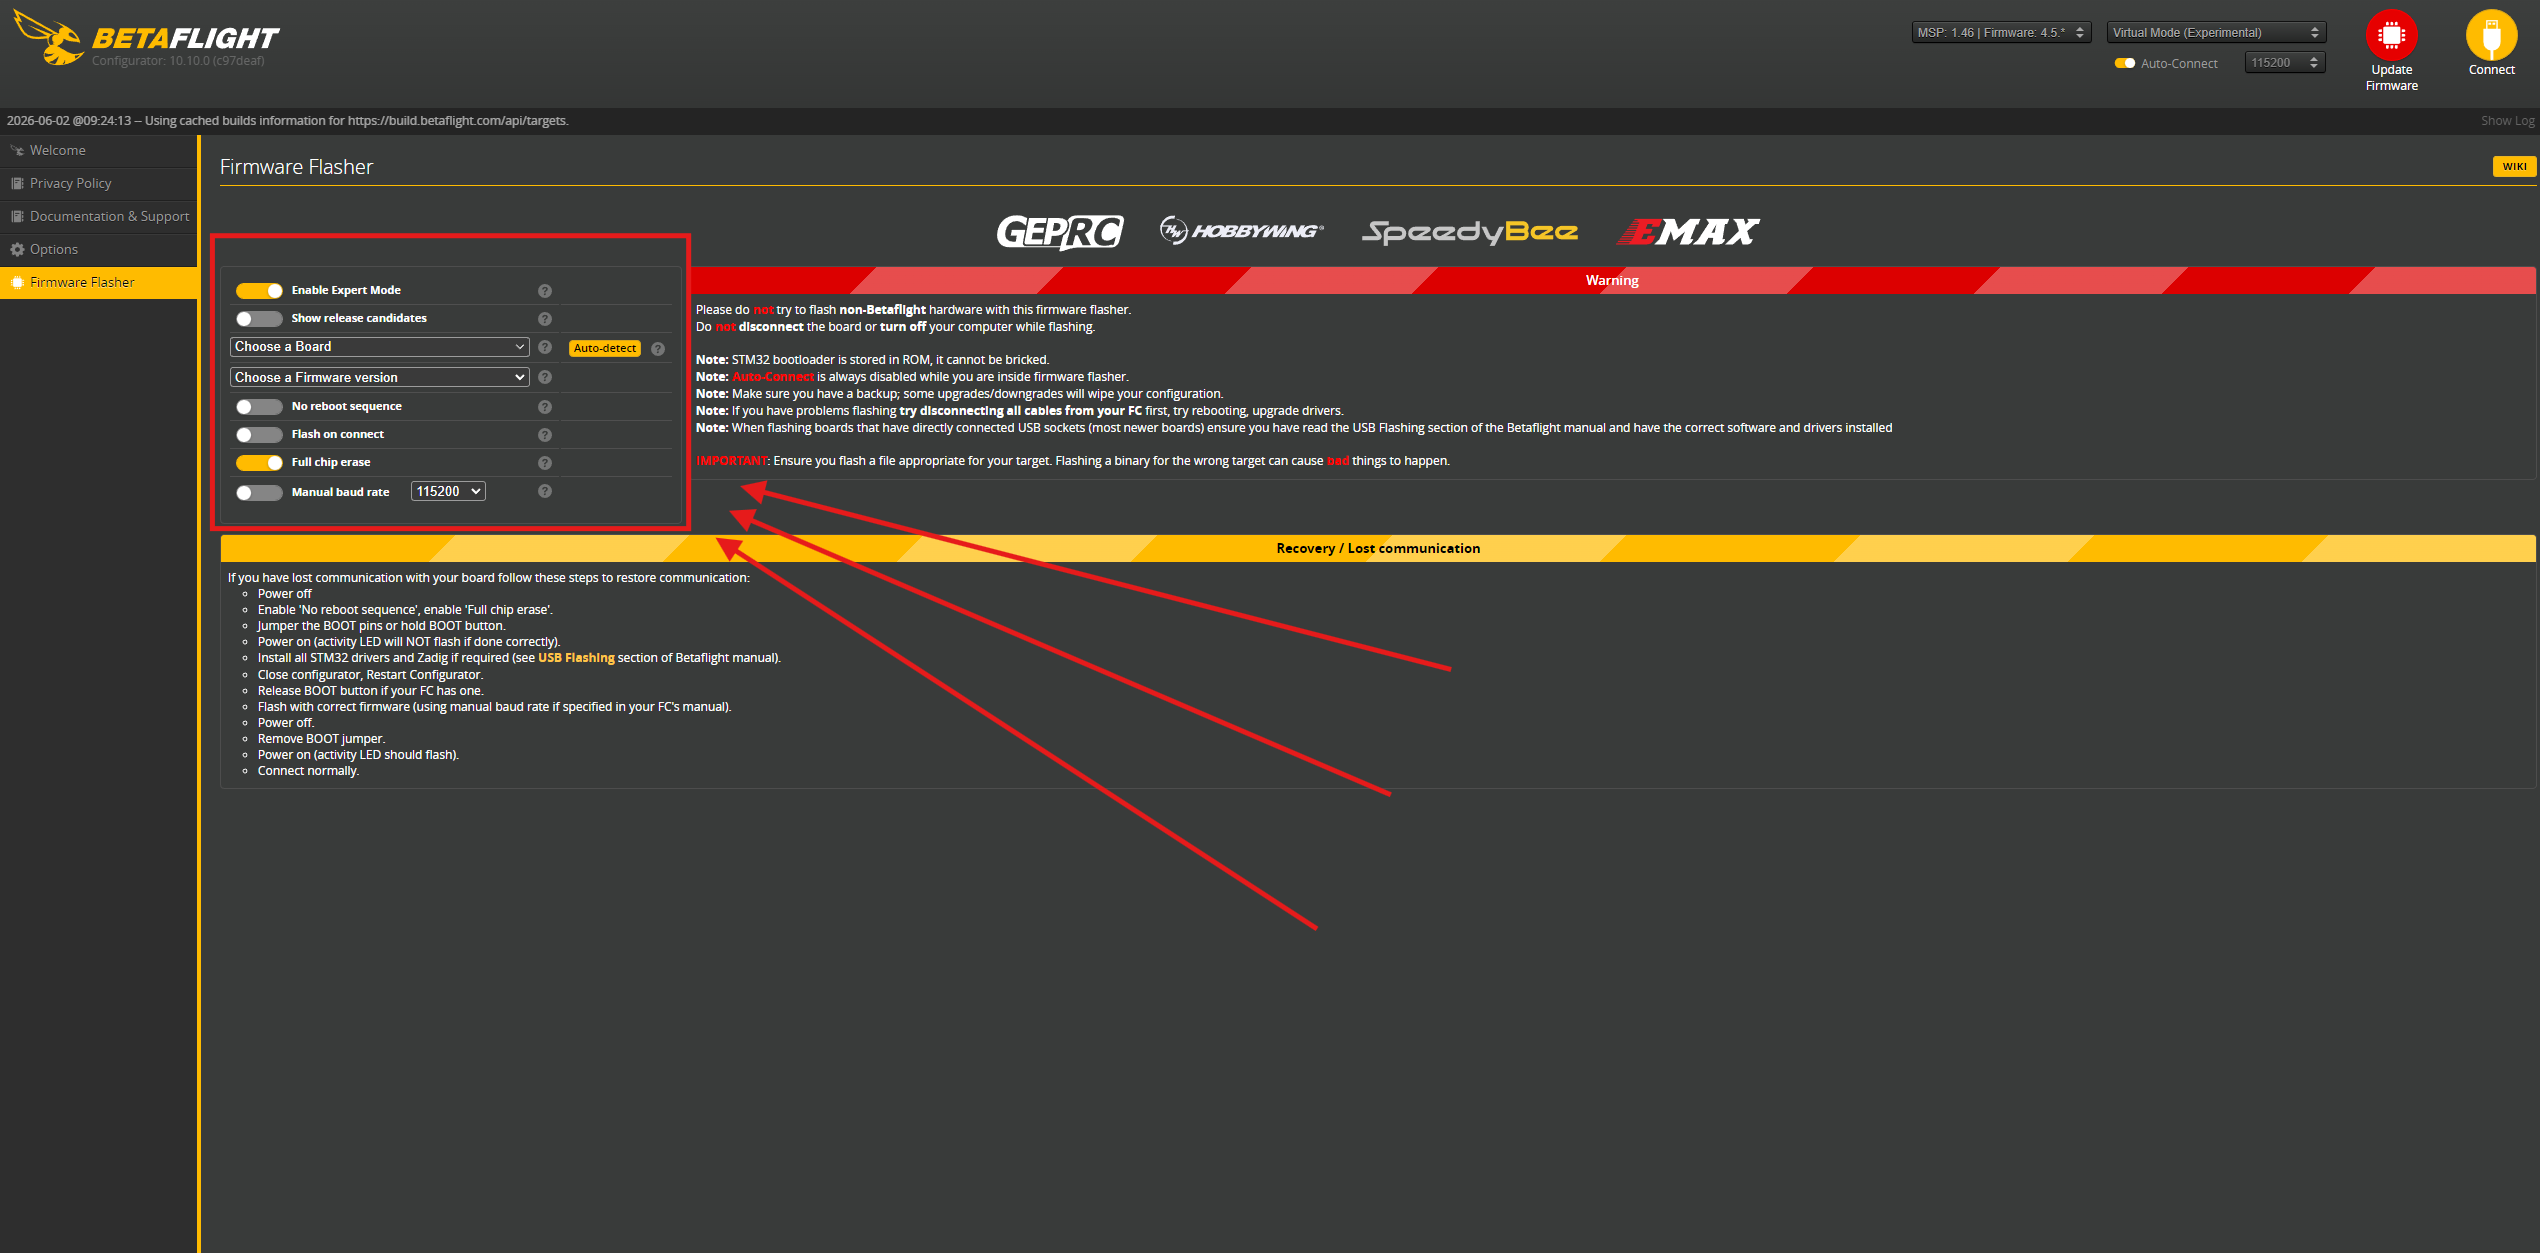
5. Select the Firmware Version
Choose the desired Betaflight firmware version.
We generally recommend using the latest stable release.
6. Enable Full Chip Erase
Before flashing, enable:
☑ Full Chip Erase
This ensures that no old settings interfere with the new setup.
7. Select the Receiver Protocol
Locate the section:
➡️ Receiver Protocol
Select the receiver protocol that matches your receiver.
Examples:
- CRSF for ExpressLRS or TBS Crossfire
- SBUS for DJI
- FPORT
- IBUS
Important: The selected protocol must match the receiver you are using.
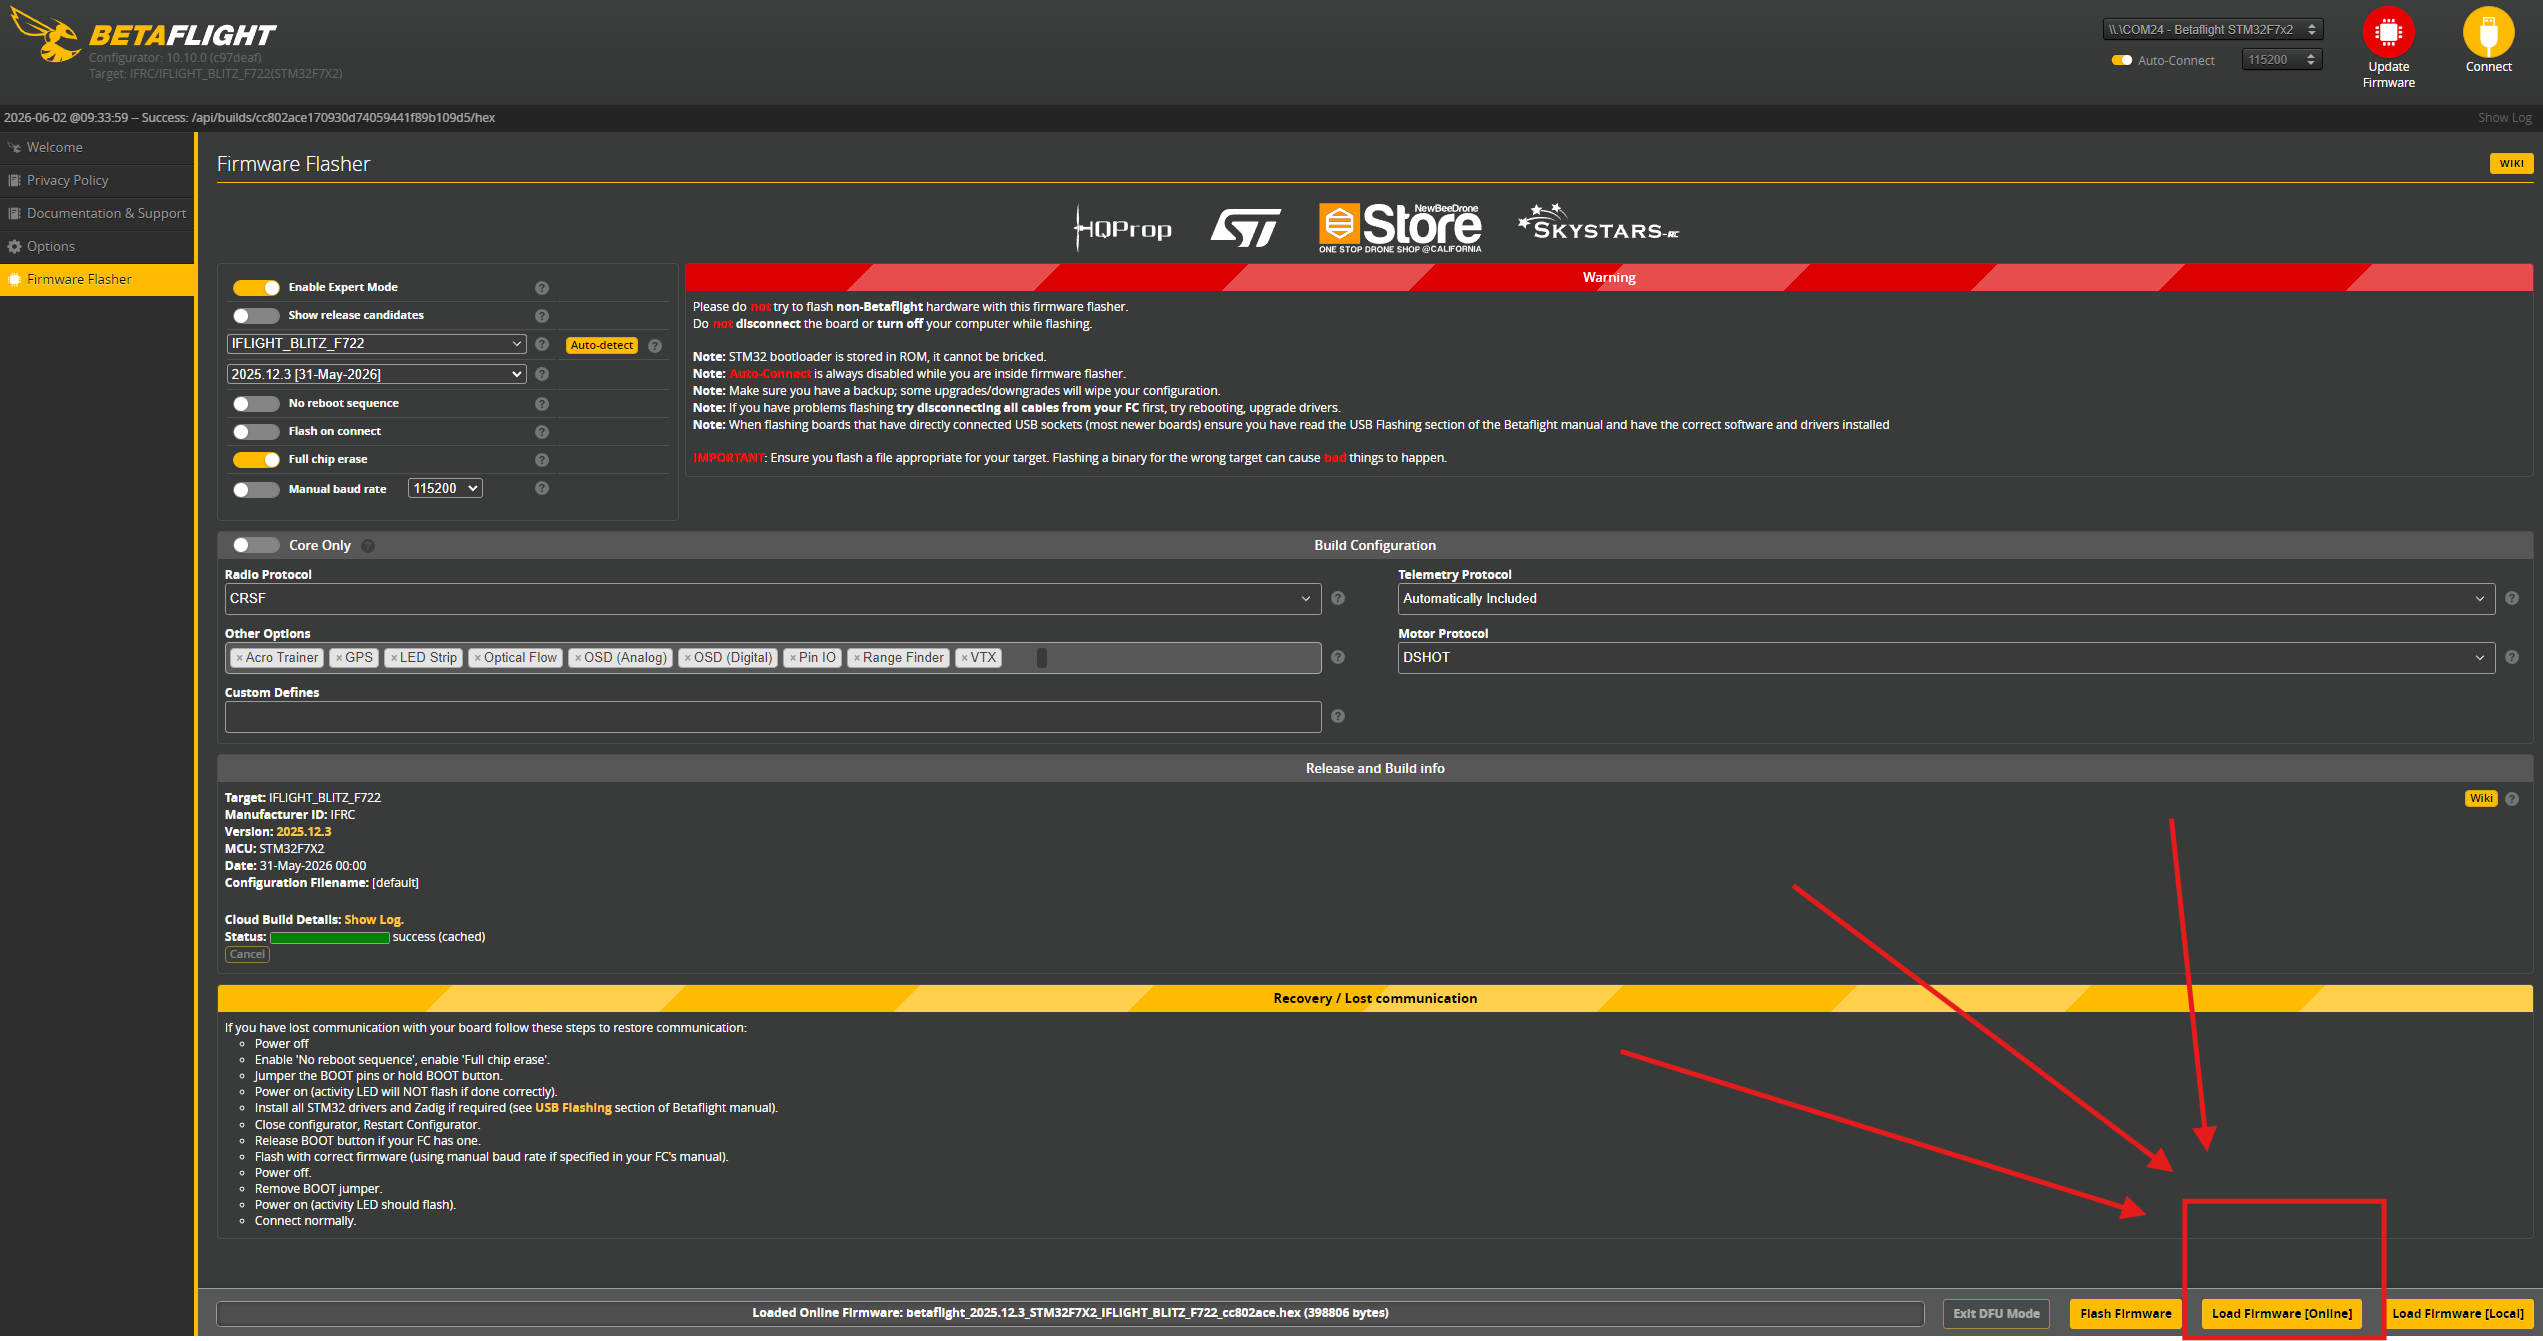
8. Load the Firmware
Click on:
➡️ Load Firmware [Online]
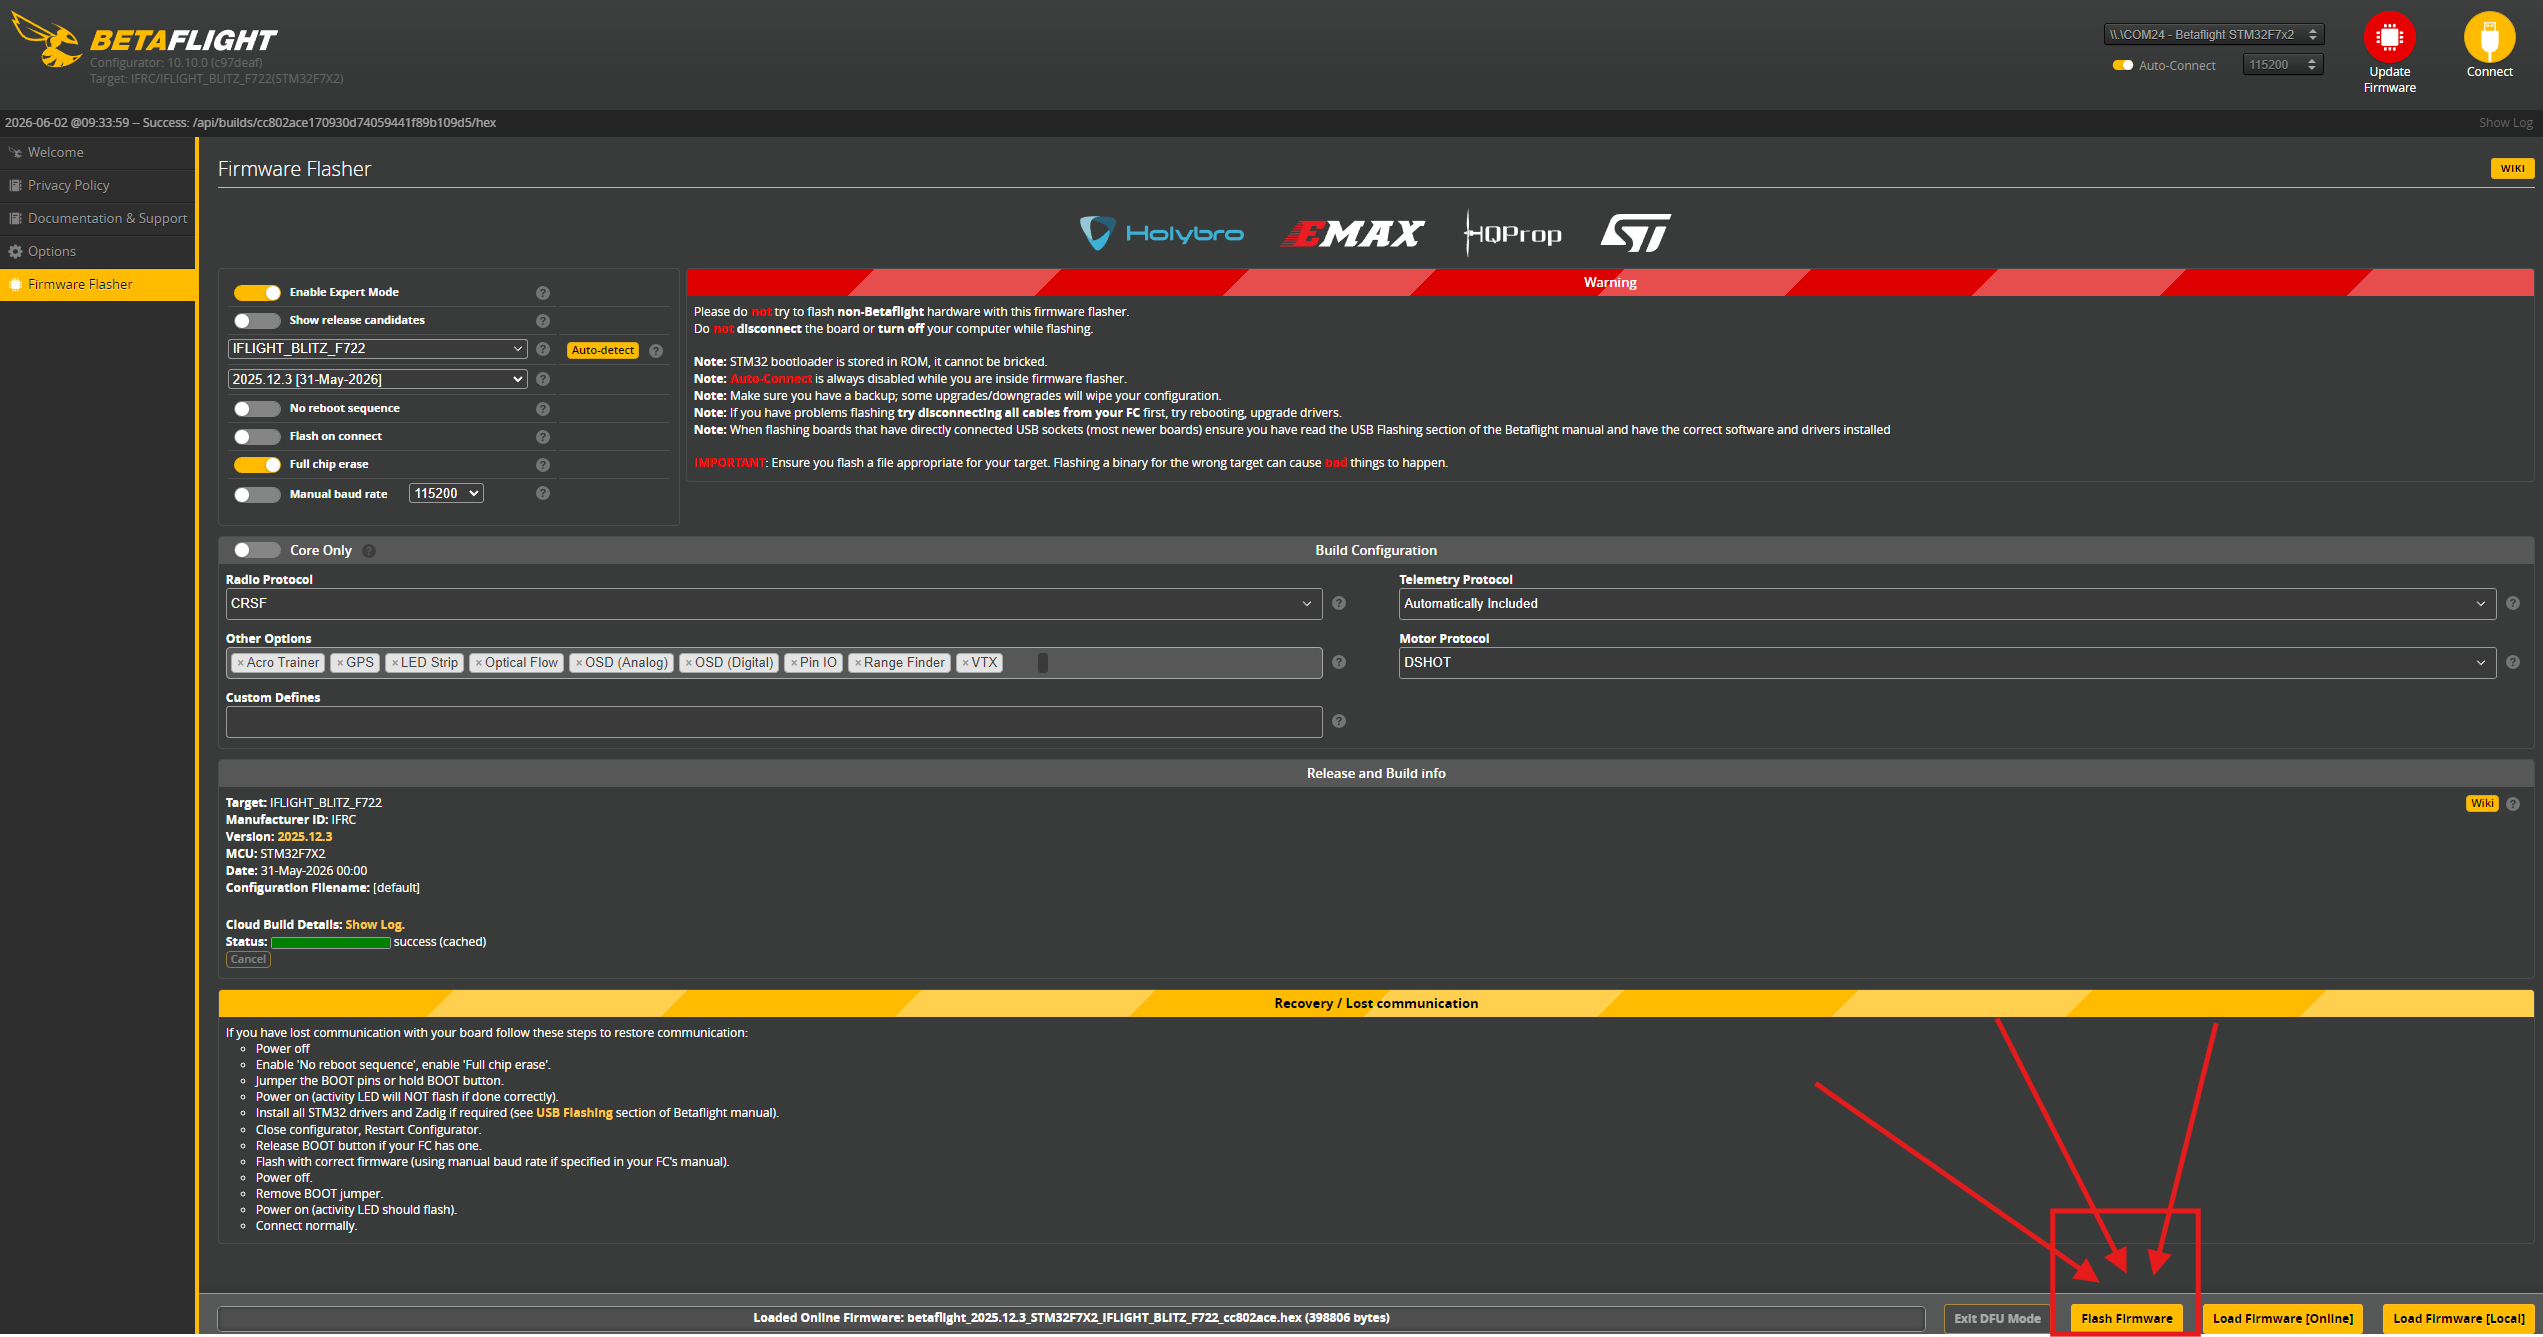
9. Flash the Firmware
Click on:
➡️ Flash Firmware
Wait until the flashing process has completed.
The flight controller will automatically reboot once the process is finished.
Done
The selected receiver protocol has now been integrated into the firmware and flashed to the flight controller.